
There are many ways to add your signature in a unique and distinctive way. Here is my approach. My tools are Microsoft Paint and Corel PaintShop Pro 2023. Your tools may be somewhat different in the details of how to do the tasks.
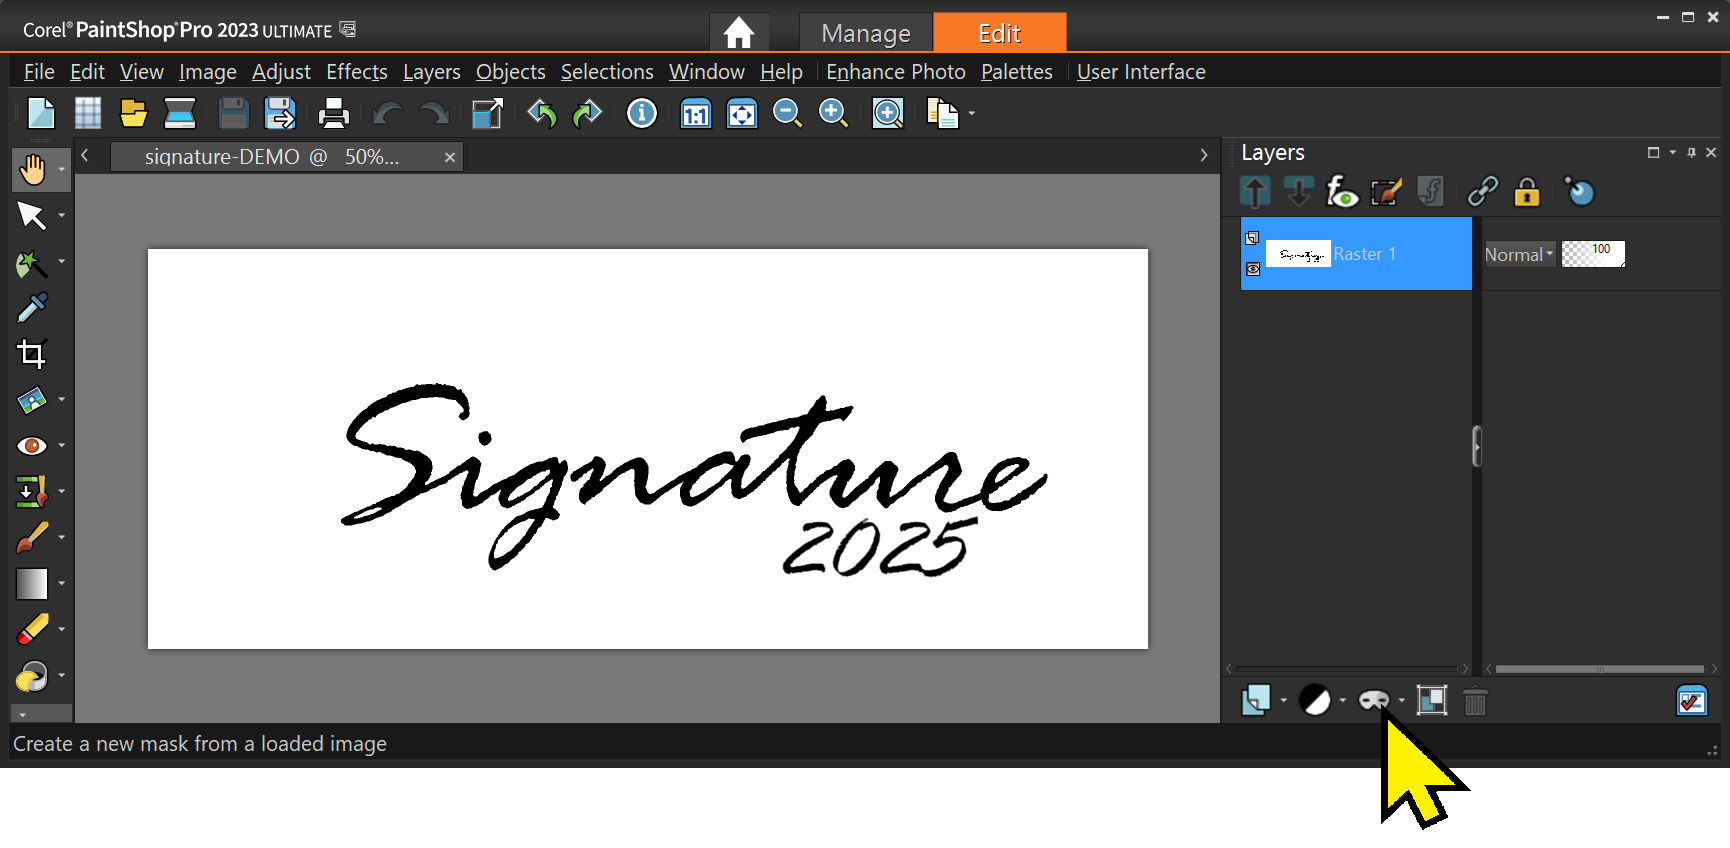
First create your signature. You can do it on paper and scan it, or photograph it, or use a tool such as Paint with its large variety of available fonts. Set the image size about 2000 pixels wide by 800 pixels high. Use heavy black lines to form your signature. Save it as a PNG file. Here is an example:

Next modify the signature image to make the white and colored parts, such as guidelines, transparent. One quick way is to use Paintshop Pro or similar tool. Load in your image then make a mask. Click the Mask tool icon and select “From Image …”.
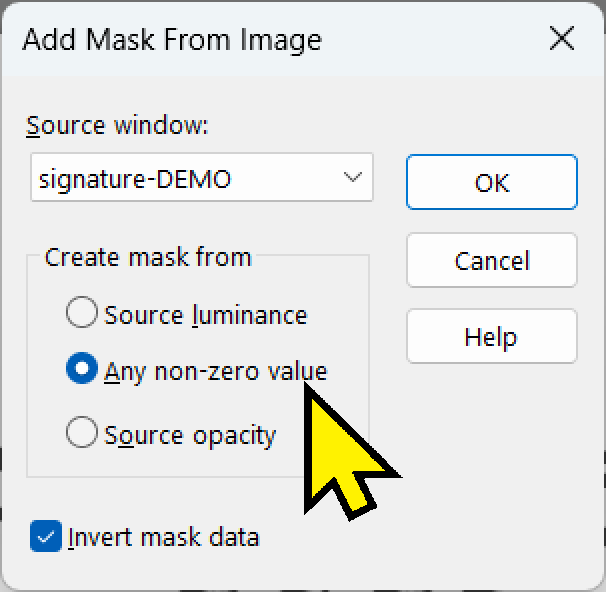
Next select “Any non-zero value”. That masks anything that is not totally black. Colored guidelines and gray areas will thus become transparent. That is what you want.
Then save the image as a PNG file to retain the transparent areas.
Open the signature image up and color it as you like. I make mine gray. This will allow “embossing” of the signature on your art. You may wish to touch up the final image to make it “perfectly yours”.
You are now ready to sign your work of art. Load it into PaintShop Pro (or your tool of choice, keep in mind that the details may be slightly different in another tool).
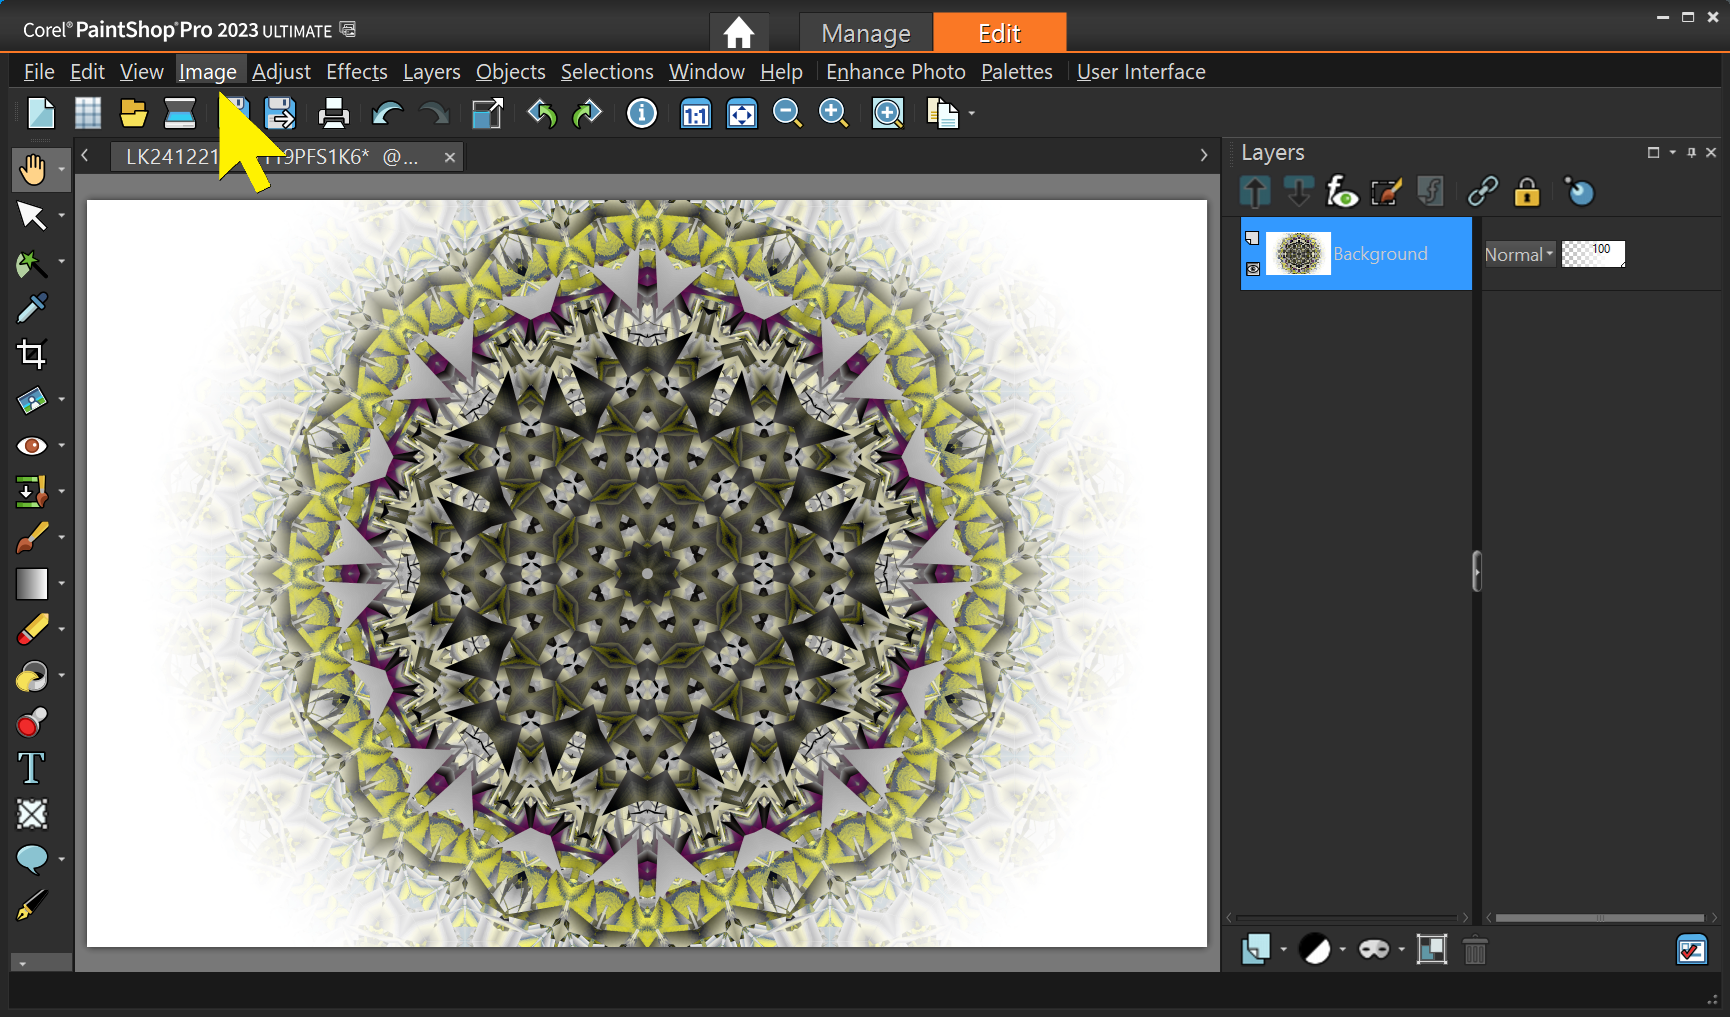
Select Image – Watermarking – Visible Watermark … – Then in the popup window browse to your signature file and then select the position, size, opacity, and embossing. Play with the levels until you get it exactly your way.
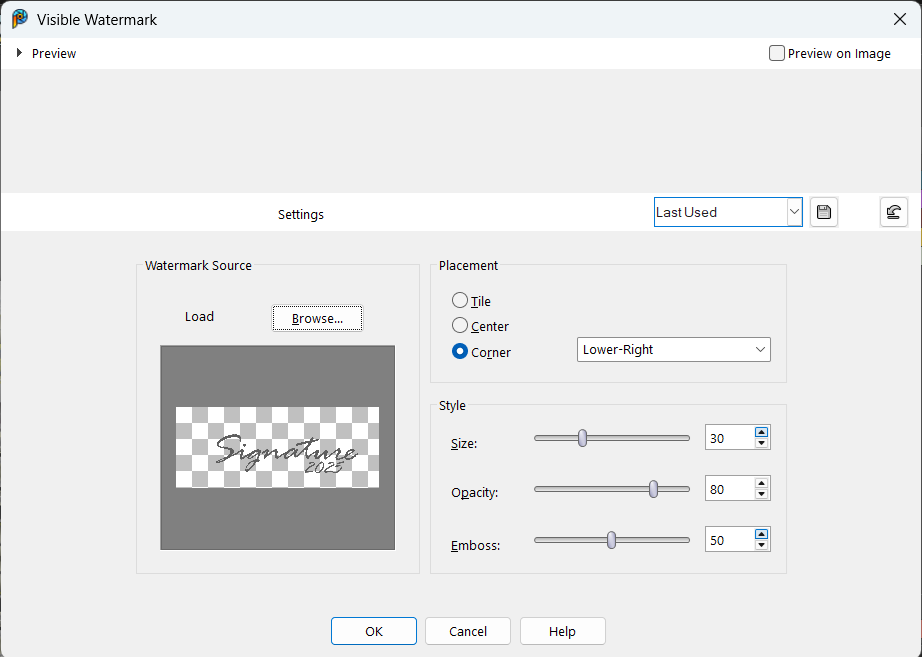
That’s it. PSP will remember your settings so next time it will be quick and easy.

 .:. © 2024 Ludwig Keck
